Enabling IP Security for MongoDB 3.6 on Ubuntu
MongoDB 3.6 provides developers and DevOps professionals with a secure by default configuration that protects data from external threats by denying unauthorized access on a public network. MongoDB servers will now only listen for connections on the local host unless explicitly configured to listen on another address.
This tutorial will briefly show you how to enable IP addresses beyond localhost to your MongoDB node to ensure your networked servers are able to connect to your database. You will see how easily MongoDB is configured to start up and listen on specific network interfaces.
This tutorial assumes you have:
- Installed MongoDB 3.6 (this does not handle upgrading from previous versions)
- Multiple network interfaces on your server (we'll use an AWS EC2 instance)
- Basic understanding of IP Networks and how to configure a private network for your data (we’ll use an AWS VPC)
- Understanding that "localhost" refers to IP 127.0.0.1
Getting Started
I have launched an AWS EC2 instance with Ubuntu 16.04 LTS and installed MongoDB as described on the MongoDB downloads page.
I want to enable the private IP range that is part of my VPC to allow us to access our MongoDB database. By doing this, we'll ensure that only our private network and "localhost" are valid network paths to connect to the database. This will help ensure we never have outsiders poking into our database!
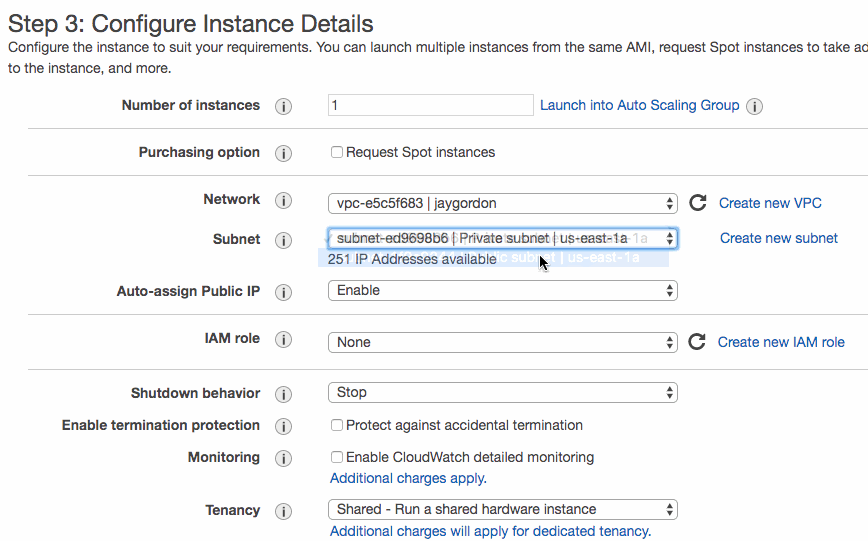
I first launch an Ubuntu 16.04 EC2 instance in my public subnet within my VPC. By doing this, I will allow my network interface to allow network connections to the outside world without requiring a NAT Gateway.
Next, I follow the instructions on the MongoDB documentation on how to install MongoDB on Ubuntu. I can verify which ethernet interfaces the process starts on in Linux by running the following command:
ubuntu@ip-172-16-0-211:~$ sudo netstat -plant | egrep mongod
tcp        0      0 127.0.0.1:27017         0.0.0.0:*               LISTEN      2549/mongod
This output means that users are only permitted to access our MongoDB instance on port 27017 via IP 127.0.0.1. If you would like to make this available to other systems on your network, you'll want to bind the local IP associated with the private network. To determine network interface configuration easily, we can just run an ifconfig from the command line:
ubuntu@ip-172-16-0-211:~$ ifconfig
eth0      Link encap:Ethernet  HWaddr 0e:5e:76:83:49:3e
          inet addr:172.16.0.211  Bcast:172.16.0.255  Mask:255.255.255.0
          inet6 addr: fe80::c5e:76ff:fe83:493e/64 Scope:Link
          UP BROADCAST RUNNING MULTICAST  MTU:9001  Metric:1
          RX packets:65521 errors:0 dropped:0 overruns:0 frame:0
          TX packets:7358 errors:0 dropped:0 overruns:0 carrier:0
          collisions:0 txqueuelen:1000
          RX bytes:94354063 (94.3 MB)  TX bytes:611646 (611.6 KB)
We have the IP we want to make part of the list of acceptable network addresses we can listen from. I will open the /etc/mongodb.conf file and edit it to reflect the additional network IP:
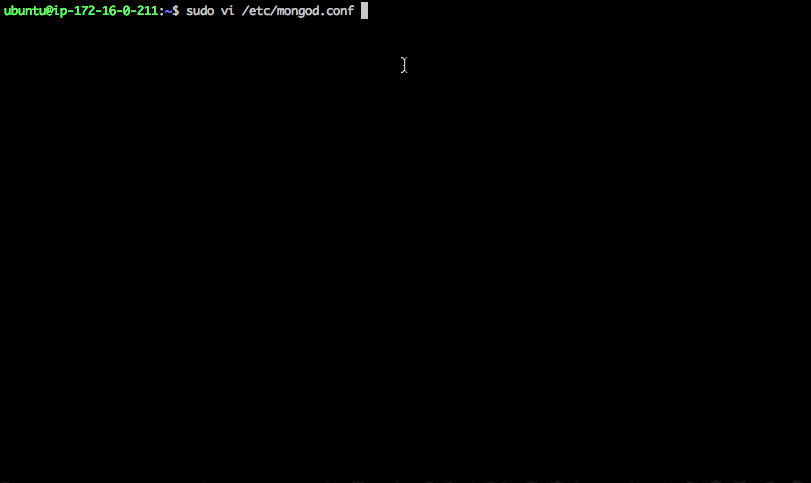
The file's changes will be:
# network interfaces
net:
  port: 27017
  bindIp: 127.0.0.1,172.16.0.211
After modifying bindIP under "net" from just 127.0.0.1 to include private IP address 172.16.0.211, we should be able to restart and see it listening from netstat on both now:
ubuntu@ip-172-16-0-211:~$ sudo service mongod stop
ubuntu@ip-172-16-0-211:~$ sudo service mongod start
ubuntu@ip-172-16-0-211:~$ sudo netstat -plnt | egrep mongod
tcp        0      0 172.16.0.211:27017      0.0.0.0:*               LISTEN      2892/mongod
tcp        0      0 127.0.0.1:27017         0.0.0.0:*               LISTEN      2892/mongod
Now our database will be able to accept requests from both the specified IP address as well as localhost:
Shell access via localhost
ubuntu@ip-172-16-0-211:~$ mongo localhost
MongoDB shell version v3.6.0-rc2
connecting to: mongodb://127.0.0.1:27017/localhost
Shell access via private IP
ubuntu@ip-172-16-0-211:~$ mongo 172.16.0.211
MongoDB shell version v3.6.0-rc2
connecting to: mongodb://172.16.0.211:27017/test
Next Steps
The default localhost configuration has tremendous benefits to security as you now must explicitly allow network connections, blocking attackers from untrusted networks. Keeping your MongoDB database safe from remote intrusion is extremely important. Make sure you follow our Security Checklist to configure your MongoDB database cluster with the appropriate security best practices.
Now that you understand how to configure additional IP addresses on your MongoDB 3.6 server, you're able to begin configuring replication. Don't forget backups, monitoring and all the other important parts of your MongoDB clusters' health. If you'd rather spend less time on these tasks and deploy MongoDB clusters with a click or an API call, check out MongoDB Atlas, our fully managed database as a service.